


February 26 2021| Written by Serena Stoetzer
What Is Screen Printing?
Screen printing is a printing technique where mesh is used to transfer ink onto a garment. The result is an awesome printed design on your favorite piece of clothing. It’s used in many different industries, but here at Eagle we use it primarily for the apparel industry.
This is an effective technique that adds flair to any t-shirt or fleece hoodie. With a huge range of color options, you can fully customize however you want.
Why screen printing?
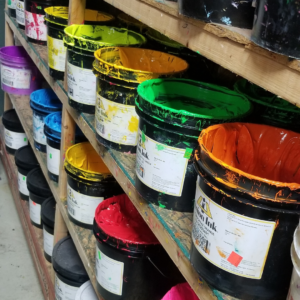
Screen printing is used to create vivid colors that show up, even on darker garments. The ink sits on the surface of the garment and can be layered to produce a wide array of looks.
When dealing with professional equipment and experienced printers, intricate designs come to life.
Eagle Products Step by Step Process
Step 1: Create the design
We start by putting our creative minds together and producing something great for the customer.
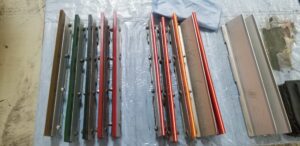
Step 2: The screen is prepared
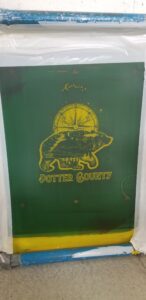
Our in-house printers then choose a mesh screen that will work with the design.
The mesh screen is then coated in a layer of light-reactive emulsion, which hardens when exposed to bright light.

Step 3: Expose the emulsion
The design is then laid onto an emulsion-coated screen, and exposed to light. The light works to harden the emulsion. If the design is going to include more than one color, then additional screens must be used. To create a multi- colored design, the printer carefully lines up each stencil to ensure a seamless finished product.
Step 4: Wash the emulsion, create the stencil
After the screen has been exposed, areas of the screen that were not covered will turn hard. The unhardened emulsion is then carefully rinsed away. An imprint of the design is left behind for the ink to easily pass through.
Any necessary touch-ups will be completed at this step.
Step 5: The Screen is ready for print
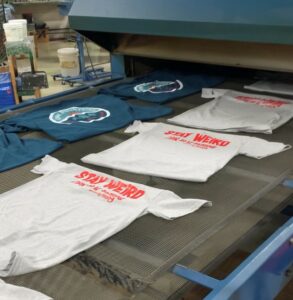
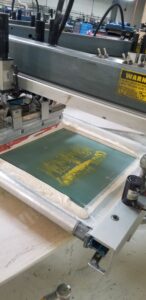
The screen is finally placed onto the printing press! The garment is then set onto the printing board underneath the screen.
Step 6: The ink is applied
The screen is lowered onto the printing board. Ink is then added to the top of the screen and a squeegee pulls the ink along the entire screen. Ink is pressed through the open areas of the stencil and the design is shown on the product underneath.
Once all the items have been printed, the emulsion is removed using a special cleaning fluid so the mesh can be reused.
Step 7: The Product is dried and then off to shipping! (our favorite and final step)
The printed garment is now ready to be shipped to its new home!